In a a previous article, I illustated how to configure Radius server on Cisco switch/router. In this tutorial, I explain how to install and configure a free radius server (Microsoft NPS) to control Cisco device access.
Network Policy and Access Services is a component of Windows Server and it is the implementation of a Remote Authentication Dial-in User Service (RADIUS) server and proxy. As a RADIUS server, NPS performs centralized authentication and authorization for wireless devices, and it authorizes switch, remote access dial-up, and virtual private network (VPN) connections. Using NPS, you can centrally configure and manage network access authentication, provide authorization for connection requests, and accounting for information logs.
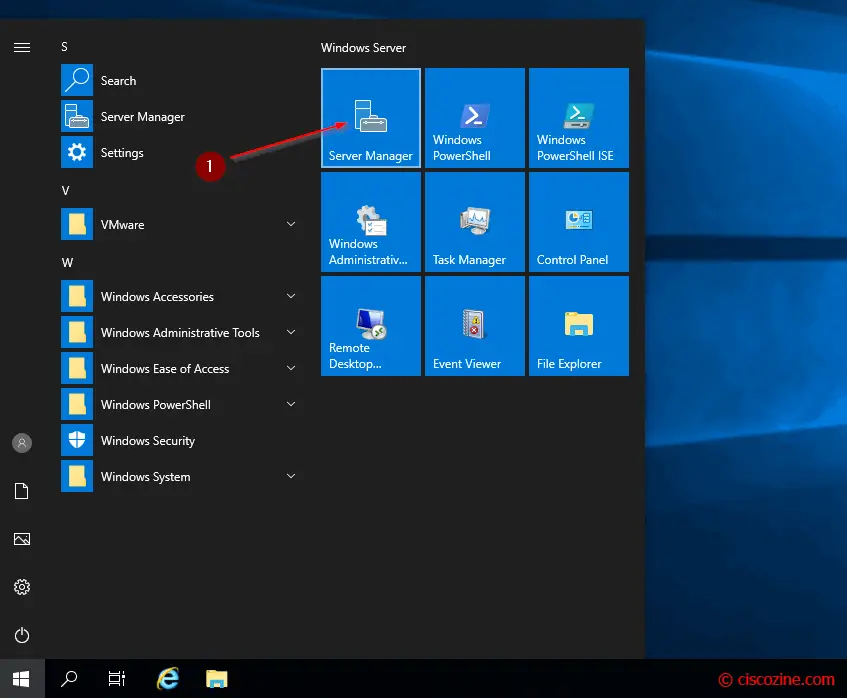
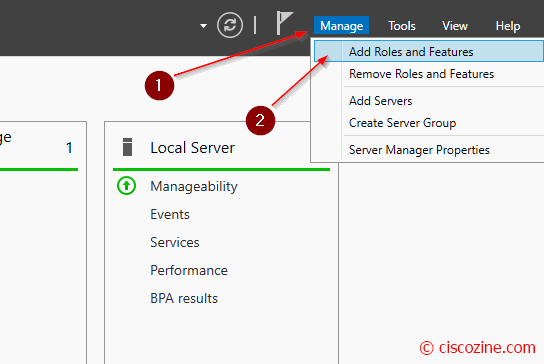
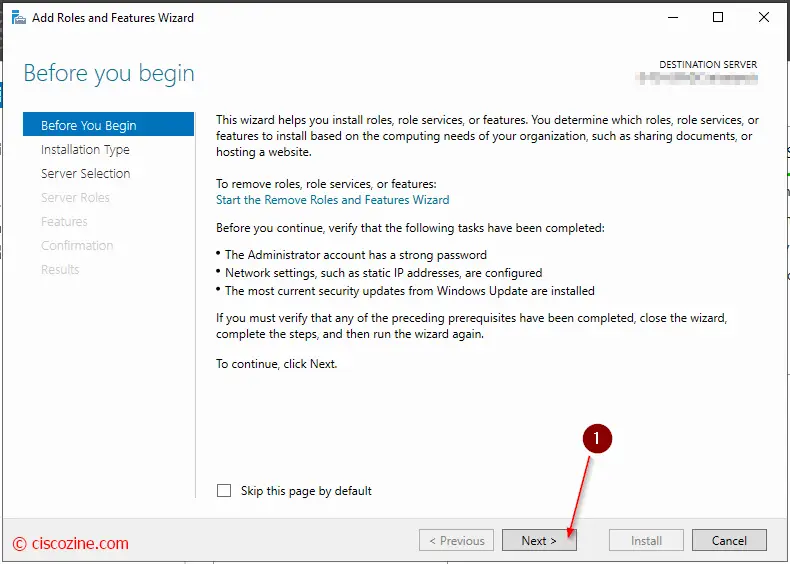
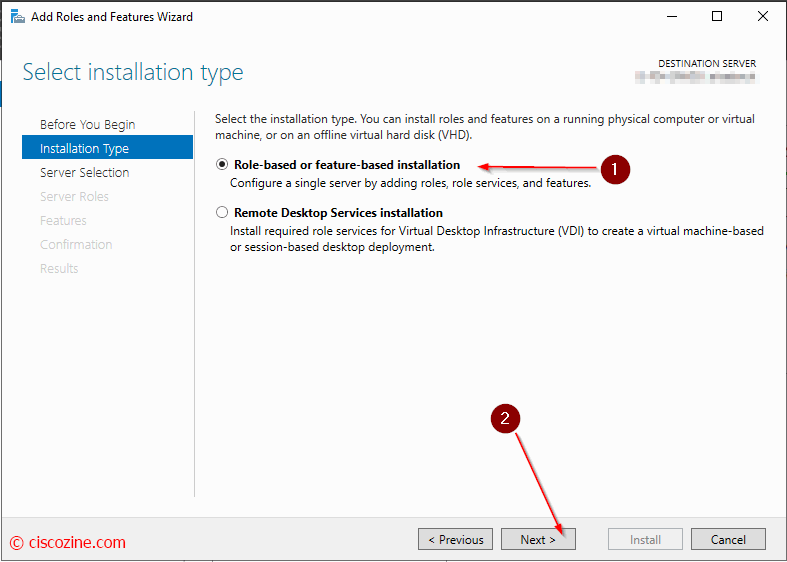
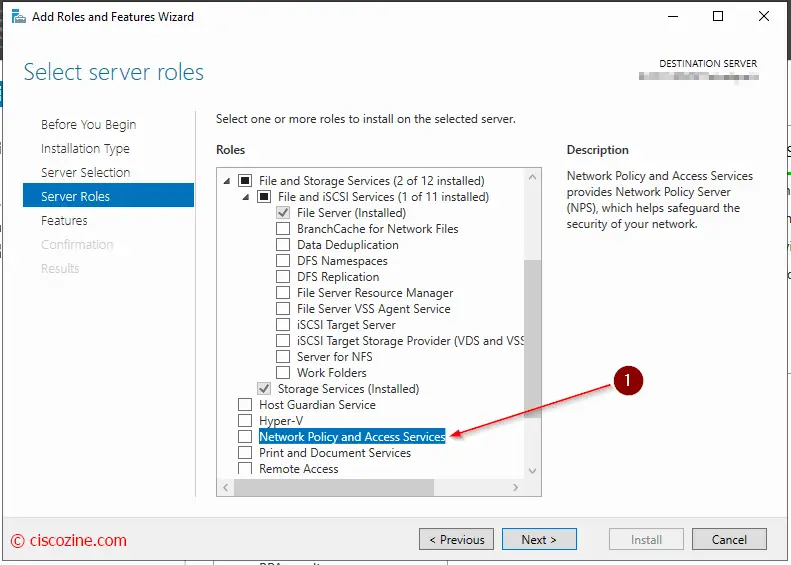
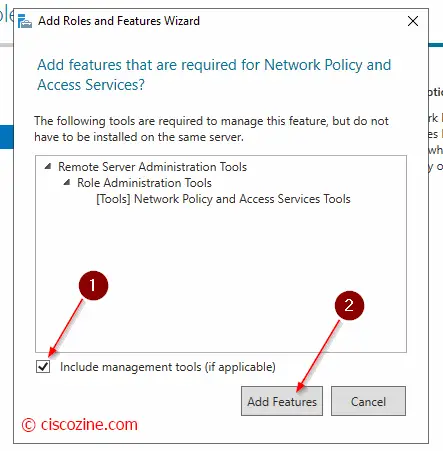
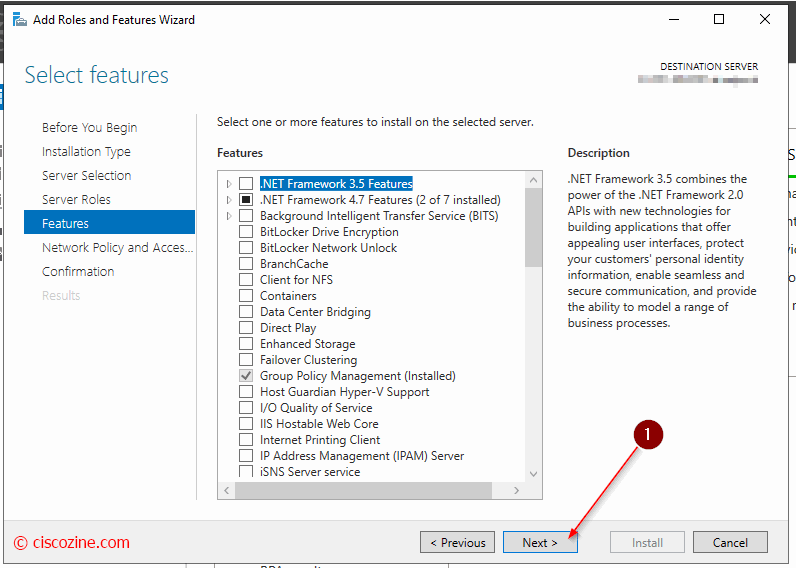
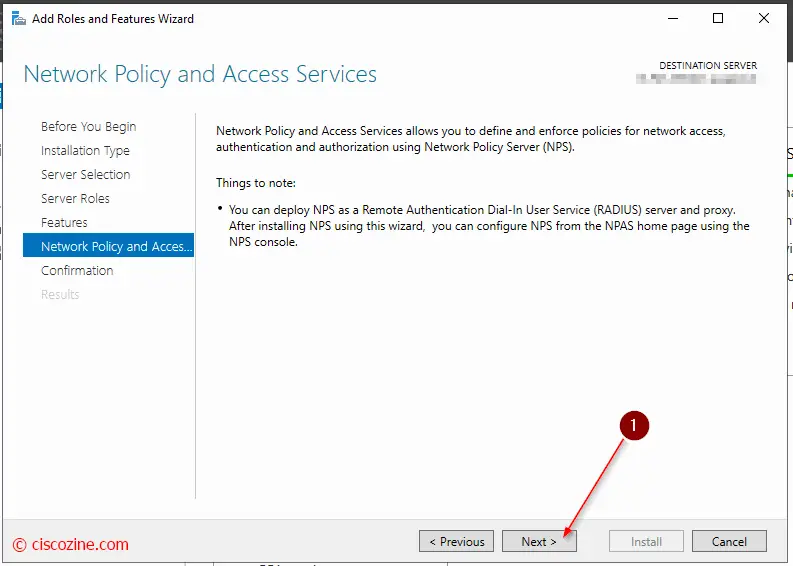
Install Microsoft NPS

NPS Configuration
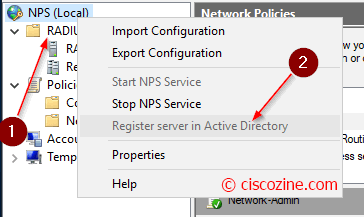
First of all, register NPS server to have permission to access user account credentials and dial-in properties in AD. Right-click NPS at the top of the tree and choose “Register server in Active Directory”.
Now you can start your first configuration :)
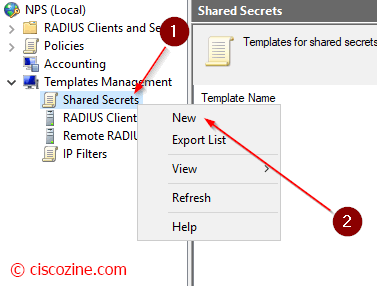
Templates management
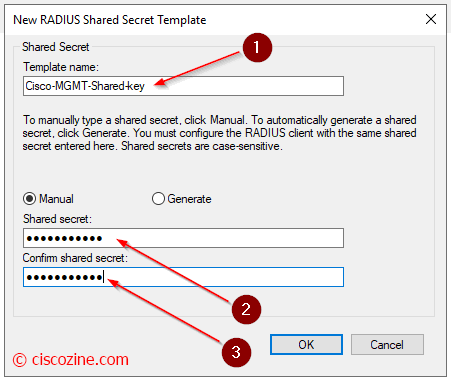
This is not mandatory, but my suggestion is to create a Shared Secrets Template to save the Radius key. The template is used in Radius client properties.
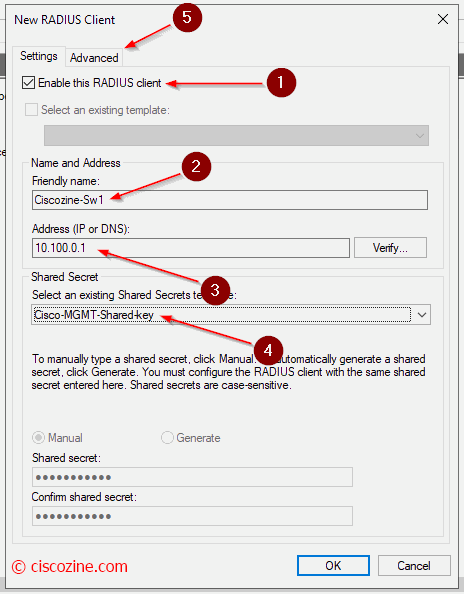
Radius Client
Define which devices can query the Radius server.

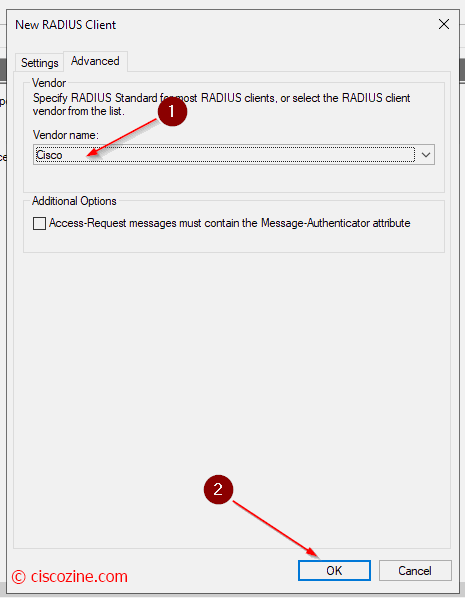
Compile the name (2), the device IP address (3) and as radius key (4) select the template that you have previously defined. In “Advanced” select Cisco.
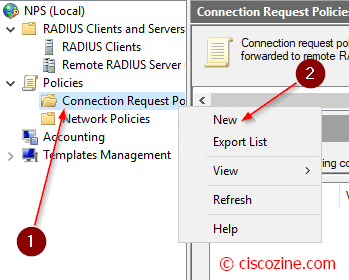
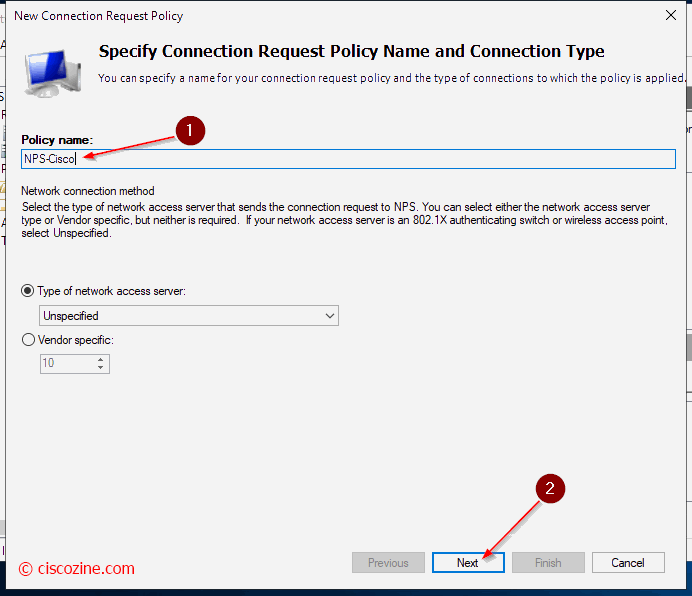
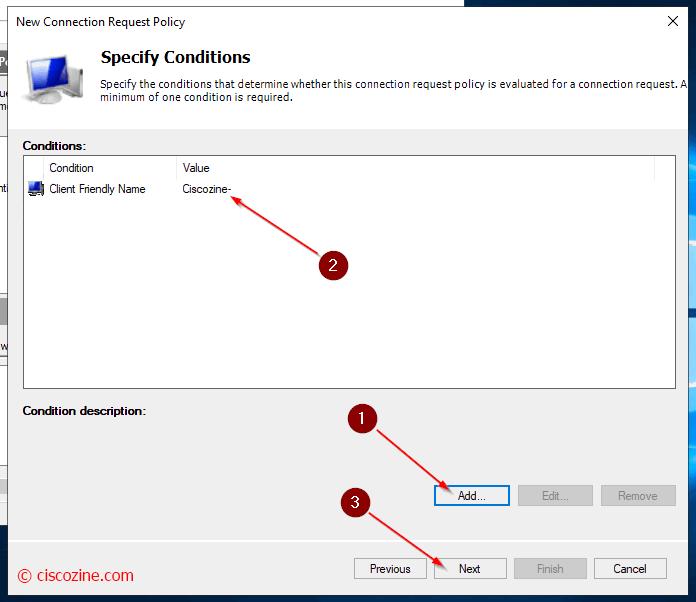
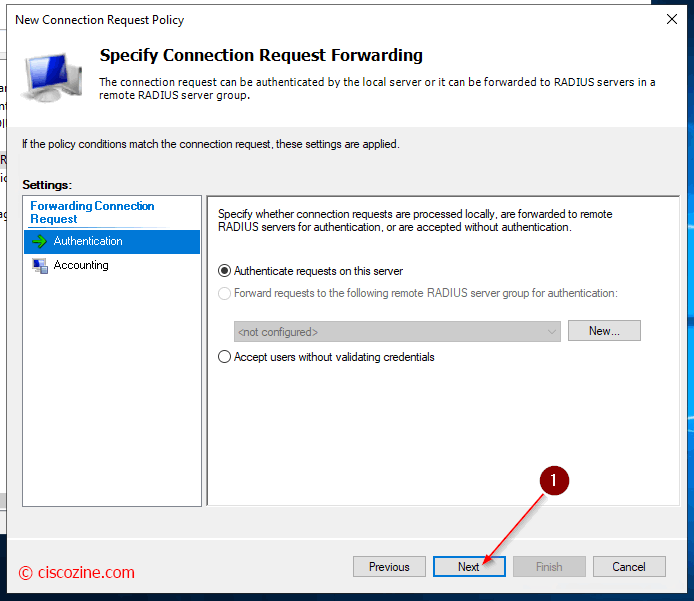
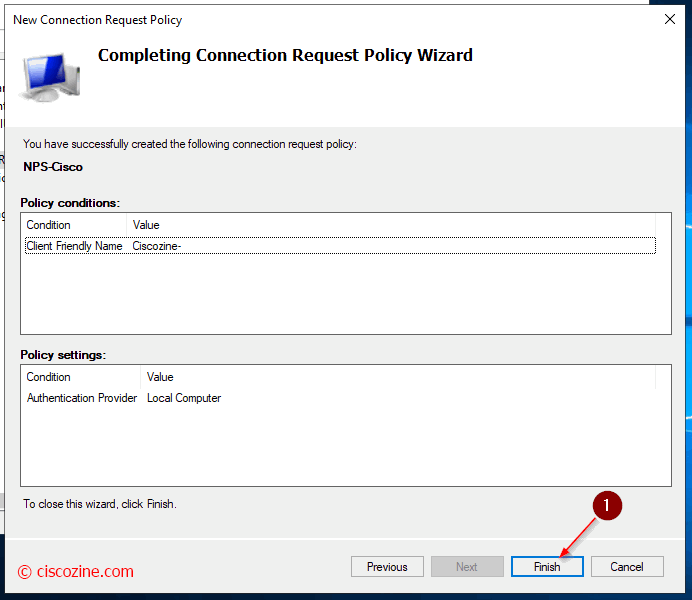
Connection Request Policies
They are sets of conditions and settings that allow network administrators to designate which RADIUS servers perform authentication and authorization of connection requests that the NPS server receives from RADIUS clients. In this example, the radius requests are managed by the local server.
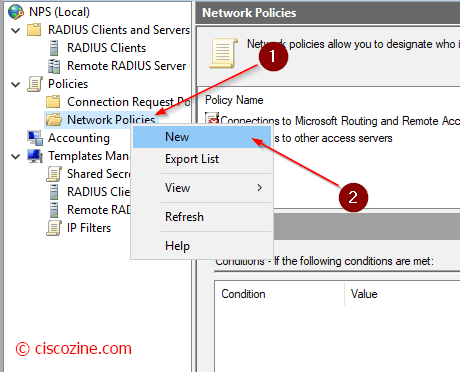
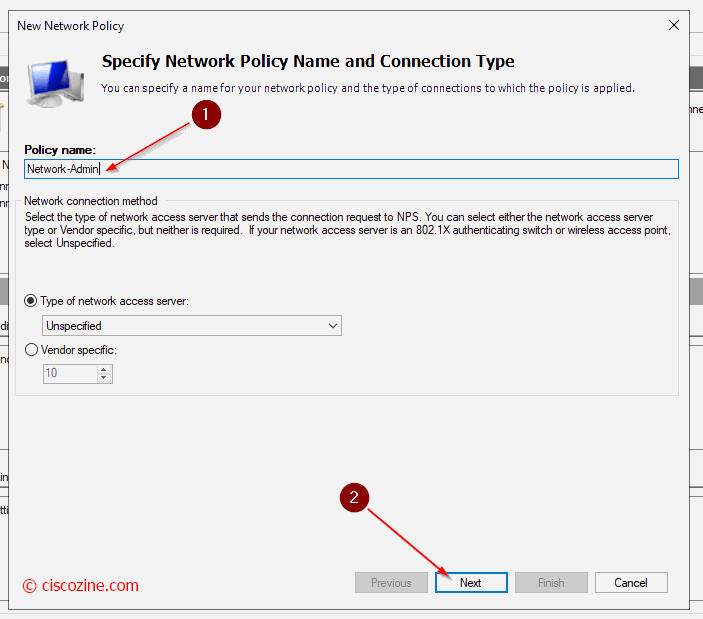
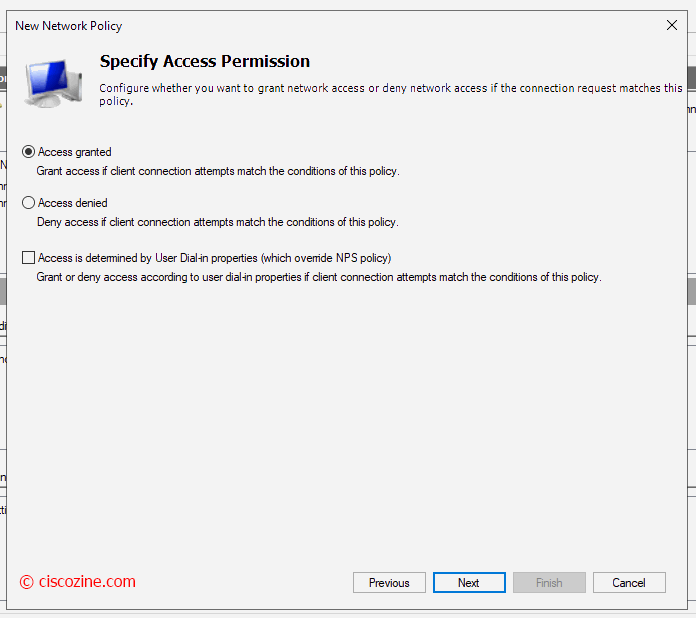
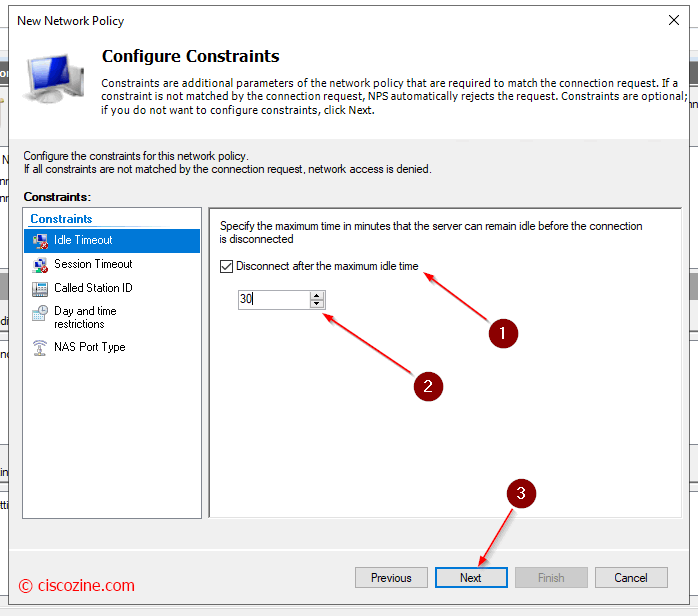
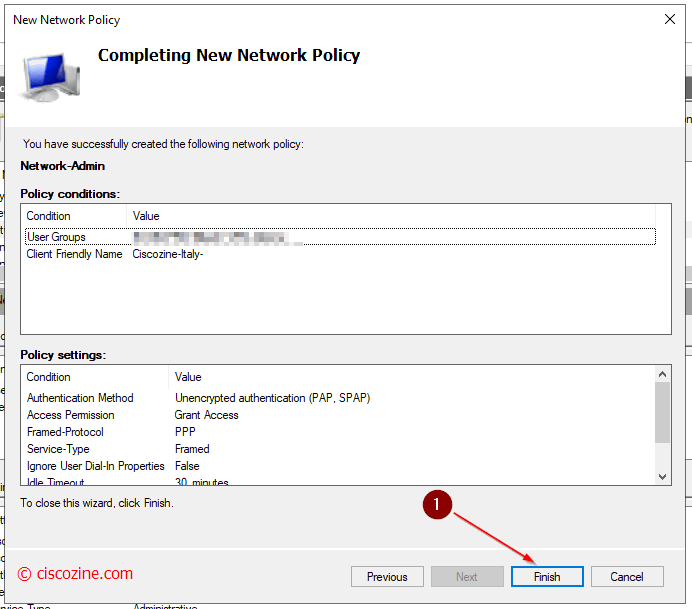
Network Policies
Define whether a connection request is authorized to connect to the network.
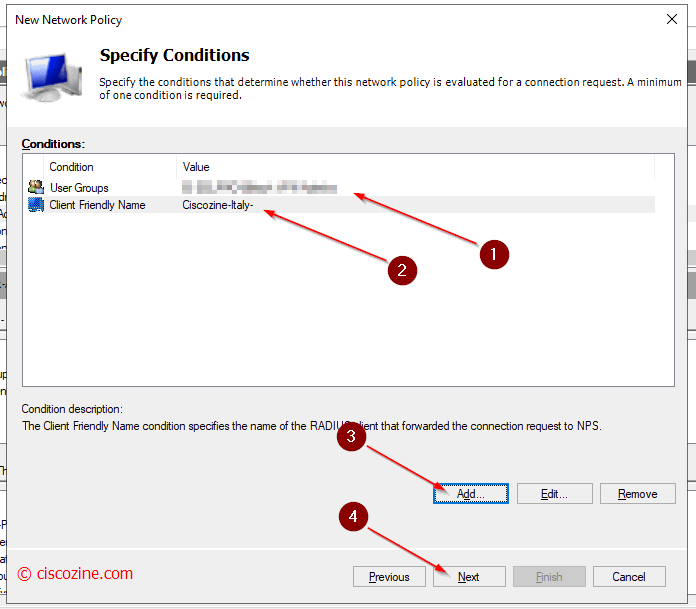
In this example two conditions are checked:
- The switch/router name must start with the name “Ciscozine-Italy”.
Note: The friendly name is defined in radius client section; it is not the device hostname! - The username used to log in the switch /router must belong to an AD group.
Remember: The condition accepts regular expression.

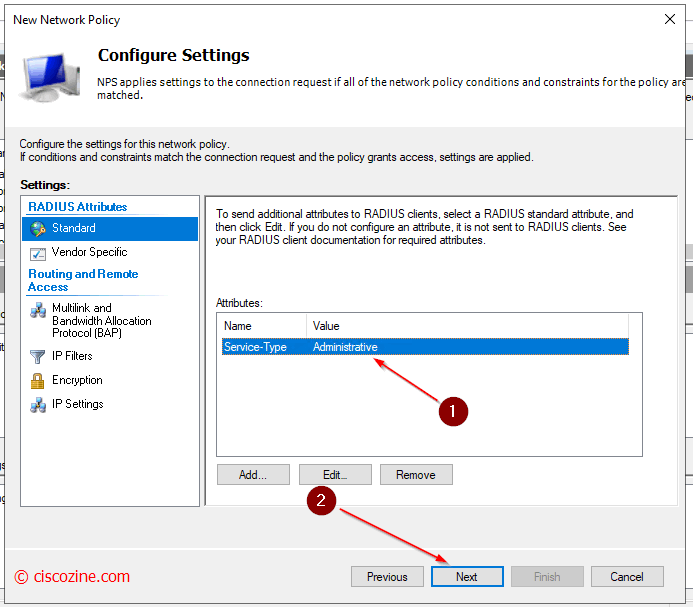
Note: (Step 7) It defines which rights the user will have: when a user match this rule, the NPS will send back to the radius client (for instance a switch) the radius attribute “Service-type”. This attribute defines which rights the user will have in the session.
For instance, in telnet/ssh sessions:
Service-type -> Administrative: it gives privilege 15 rights
Service-type -> Login: it gives privilege 1 rights
RADIUS Internet Engineering Task Force (IETF) attributes are the original set of 255 standard attributes that are used to communicate AAA information between a client and a server. The IETF attributes are standard and the attribute data is predefined. All clients and servers that exchange AAA information using IETF attributes must agree on attribute data such as the exact meaning of the attributes and the general bounds of the values for each attribute.
RADIUS vendor-specific attributes (VSAs) are derived from a vendor-specific IETF attribute (attribute 26). Attribute 26 allows a vendor to create an additional 255 attributes; a vendor can create an attribute that does not match the data of any IETF attribute and encapsulate it behind attribute 26. The newly created attribute is accepted if the user accepts attribute 26.
Note: The radius attributes required to give different rights, depends by Cisco device; below some example to give administrative properties:
Cisco ASA/Sourcefire (ASDM / SSH)
Radius Standard: Service-type -> Administrative
Cisco WLC (web / SSH)
Radius Standard: Service-type -> Administrative
Cisco FMC (web / SSH)
Radius Standard: Class -> Administrator
Cisco FDM (web)
Vendor Specific: Cisco-AV-Pair -> fdm.userrole.authority.admin
Cisco FDM (SSH)
Radius Standard: Service-type -> Administrative
Cisco FTD (SSH)
Radius Standard: Class -> Administrator
Remember: when you change some settings, you must restart the NPS service.
Troubleshooting
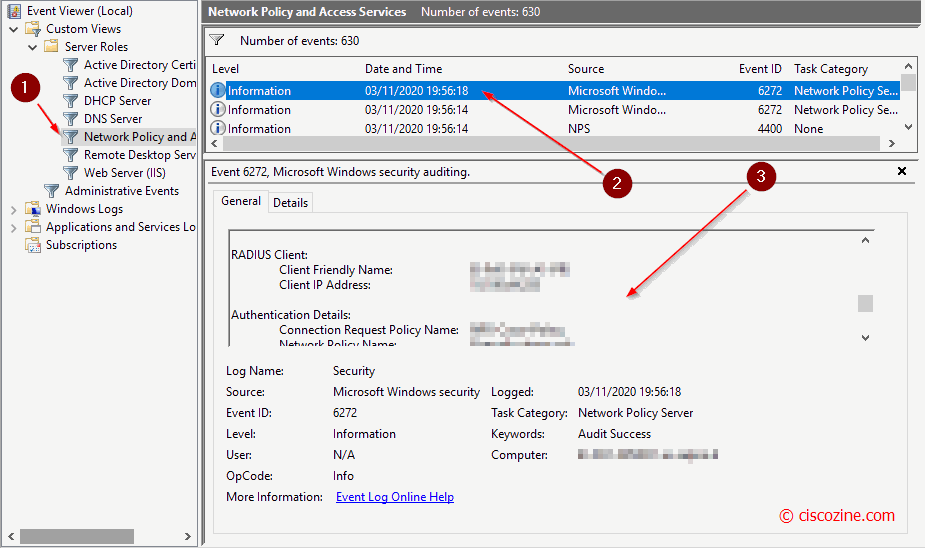
Troubleshooting with NPS is quite difficult due to the lack of informations (comparing with Cisco ISE); in any case, if you want to analyze NPS log, open “event viewer” and select “Network policy and access services”. Below an example:
Thanks you so much for this information. Could give an example of the client side config (cisco IOS-XE switch)? My switch sees the server but fails to get authenticated. Thanks.
In my case, it works as Cisco IOS Switch
Thanks a lot! Im using for CISCO SG-350 authentication. Next step try works in Cisco ASA equipaments.
Hi,
Thanks for this, it says in the screenshot that PAP/SAP authentication is a plaintext authentication method and is one of the insecure authentication methods, do the credentials get transferred over the network in plaintext with this authentication method in that case?
Only the password is encrypted while the other information such as username, accounting information, etc are not encrypted.